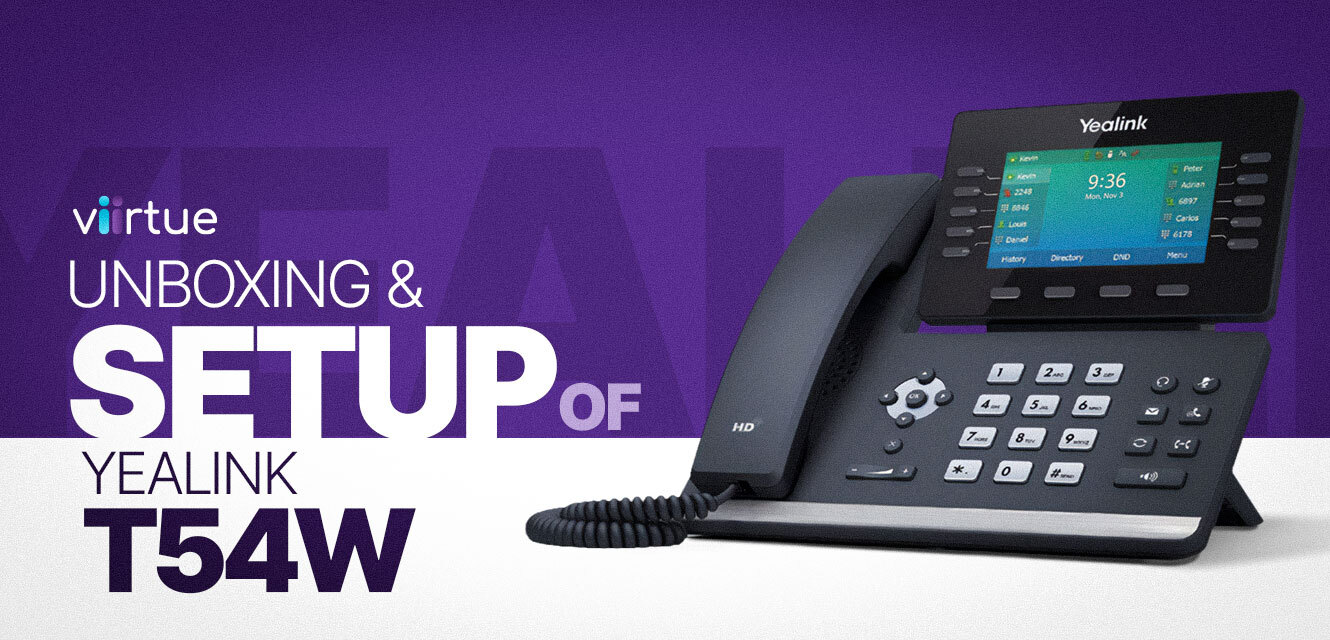
The Yealink T54W is one of the most popular business desk phones on the market — and for good reason. It combines a modern color display, dual-port Gigabit Ethernet, built-in Wi-Fi and Bluetooth, and an intuitive interface that enables fast deployment for IT teams and MSPs.
Whether you’re setting up your first T54W or managing a full rollout, this guide walks you through every step — from unboxing and assembly to provisioning and troubleshooting. You’ll learn how to connect to Wi-Fi, access the admin portal, and register SIP accounts through Yealink’s Redirection and Provisioning Service (RPS) or manually using your VoIP provider’s details.
Short on time? Here is our T2 Support Expert, Christian De Napoli to walk you through step by step:
With simple setup steps, you can get your Yealink T54W live on your hosted PBX or white-label VoIP platform in minutes.
What’s in the box:
When you first unbox your Yealink T54W, you’ll find:
Yealink T54W desk phone in a protective sleeve
Handset with coil cord
Adjustable desk stand
Ethernet cable
Quick start guide and user flyer
The packaging is compact and secure, keeping all parts clean and protected.
Pro tip: Leave the screen’s protective film on until the phone is fully installed for a pristine handoff to your client or end user.
Step-by-step setup:
1) Attach the desk stand
Align the two tabs on the stand with the matching slots on the back of the T54W. Press until you hear a firm click. The stand allows multiple viewing angles — ideal for shared desks or front-office setups.
2) Connect the handset and route the coil cord
Plug the short end of the coil cord into the handset and the long end into the handset port on the back of the phone (marked with a handset icon). Use the groove to neatly tuck the cord for a clean, tangle-free layout.
3) Power on the phone
Connect the power adapter or plug into a PoE-enabled Ethernet port. The Yealink T54W will automatically boot into its welcome screen.
4) Join Wi-Fi with the built-in assistant
On Wi-Fi models, select Menu → Wi-Fi Assistant → Wi-Fi List. Choose your SSID, enter the password using the soft keys (toggle between letters, numbers, and symbols), and wait for the green checkmark confirming a successful connection.
5) Access the admin menu
Navigate to Menu → Advanced. On new units, the default credentials are:
Username: admin
Password: admin
You’ll now see the advanced settings panel, where you can configure provisioning, network, and SIP account details.
6) Choose your provisioning method
Auto Provision via Yealink RPS:
The phone “phones home” to Yealink’s Redirection and Provisioning Service (RPS). Once associated with your account, it fetches the correct configuration file automatically. This is the preferred method for MSPs deploying multiple Yealink T54W units.Manual Provision:
Navigate to Menu → Settings → Account and manually enter your SIP credentials — including Server, Username, Password, and Outbound Proxy (if required). This is best for quick single-phone setups or testing.
Yealink T54W auto provisioning vs manual provisioning:
| Method | Best For | Setup Speed | Notes |
|---|---|---|---|
| Auto (Yealink RPS) | MSPs, VoIP resellers, multi-site rollouts | Fast | Fully automatic once linked to RPS; minimal tech time required |
| Manual | Lab testing or single-user deployments | Moderate | Ideal for quick validation or isolated installs |
If you’re using a white-label VoIP provider like Viirtue, your devices can be pre-associated with your provisioning server to enable true zero-touch setup.
Yealink T54W Troubleshooting basics:
Wi-Fi won’t connect:
Make sure you’re entering the correct password and using the right text mode. The Yealink T54W’s soft keys cycle through letters, numbers, and symbols.
Default credentials not working:
If “admin/admin” fails, the device may already be provisioned. Perform a factory reset (hold the OK key for 10 seconds) or contact your provisioning administrator.
Line registration failed:
Double-check your server address, outbound proxy, and SIP username/password. Ensure your VoIP account is active and reachable.
Display stuck on “Initializing”:
The phone may be attempting to contact a previous RPS server. Disable DHCP options 66/43 or perform a factory reset before re-provisioning.
Conclusion: Easy Deployment Meets Enterprise Reliability for Yealink T54W
The Yealink T54W offers the perfect balance between enterprise-grade performance and ease of use. With flexible provisioning options, modern connectivity, and a clean user interface, it’s an ideal choice for MSPs, VoIP resellers, and IT teams standardizing on Yealink endpoints.
Whether you’re deploying ten phones or a thousand, pairing your Yealink T54W rollout with Viirtue’s white-label VoIP platform ensures automated provisioning, built-in telecom tax compliance, and AI-powered call intelligence your customers will love.
Looking for hands-on help with large-scale deployments or advanced provisioning workflows?
👉 Get in touch with Viirtue to make every rollout smooth, scalable, and fully automated.
FAQ: Yealink T54W
What is the default Yealink T54W admin login?
Both the username and password are admin by default on new devices.
Can I register multiple SIP accounts on the T54W?
Yes. The Yealink T54W supports multiple lines, allowing users to manage calls for multiple extensions or businesses.
Does the T54W require Ethernet?
No — it supports both Ethernet and Wi-Fi. The guide above walks you through connecting wirelessly.
Can I wall-mount the T54W?
Yes. Yealink offers a compatible wall mount bracket for the T54W. The same stand can also be adjusted for desk use.
How do I reset a Yealink T54W?
Hold the OK key for about 10 seconds, then confirm the factory reset. This restores default settings and removes any previous configurations.